Last updated: September 10, 2026
Key Takeaways
- Leave at least the filter housing length plus 6 to 12 inches of working space on each side for unions, valves, and cartridge removal.
- The biggest mistake is putting the filter where it is easy to reach but wrong for the plumbing.
- The time depends less on the filter itself than on where the plumbing allows it to go.
- I’m writing this for a homeowner or property manager who already knows they want filtration but is not sure where it belongs in the plumbing run.
Usually, the right spot is the main cold-water line, after the meter or pressure tank and before the first branch that feeds the house. One filter. One entry point. That placement lets the whole home benefit from a single treatment stage, but a licensed plumber or local code official should still check the layout because code rules and pipe runs vary.
I’m writing this for a homeowner or property manager who already knows they want filtration but is not sure where it belongs in the plumbing run. I’m assuming you can identify the main shutoff, the water heater, and the main line coming into the house. I’m also assuming your goal is clean, reliable installation — not a temporary hose-and-clamp experiment.
Who this applies to — and who should do something else
This guidance applies to most homes with a single point of entry for water: municipal service with a meter, or a private well with a pressure tank and pressure switch. In those setups, the filter belongs on the incoming main line before the plumbing splits into hot and cold branches. That is often the standard layout because a whole house filter treats the water once, then every fixture downstream benefits, but local code and the manufacturer’s instructions should confirm the final arrangement.
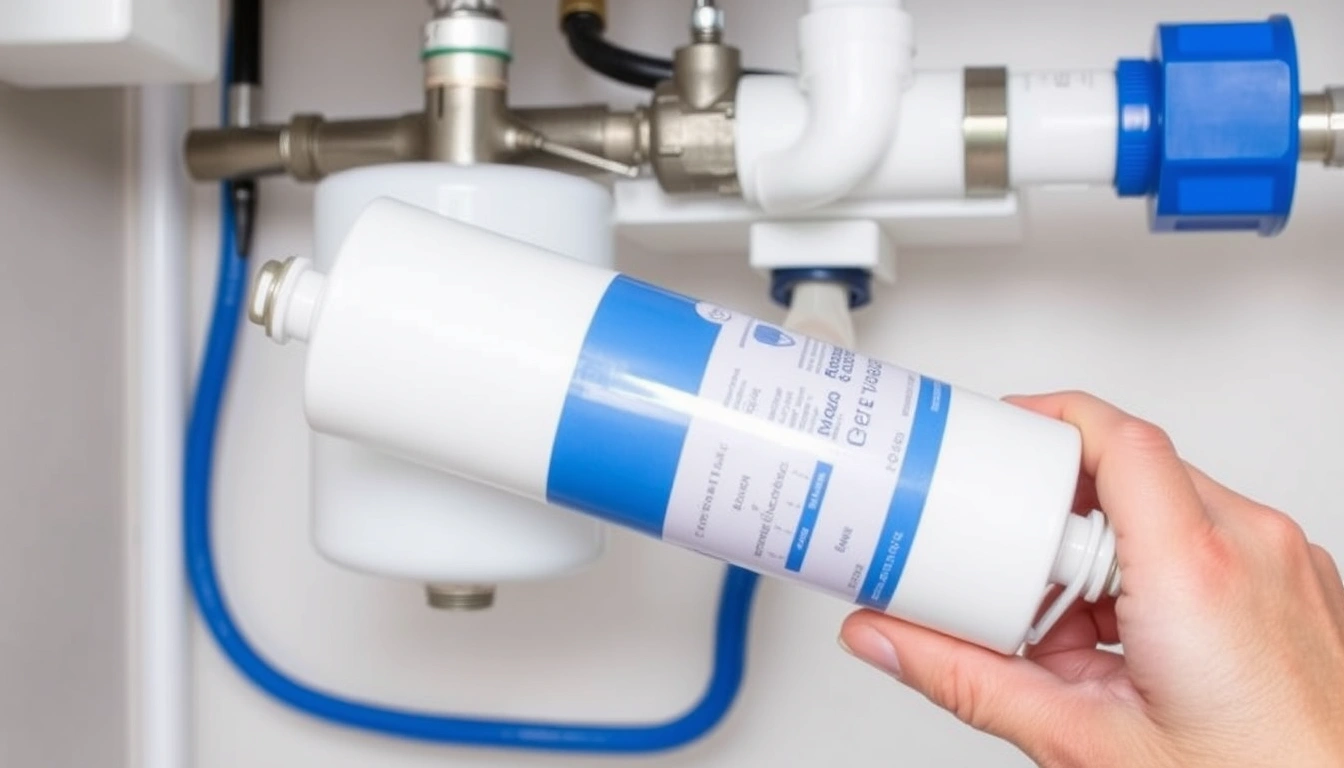
The basic idea is simple. The details are not. A sediment cartridge filter, for example, is often installed after the shutoff valve and before the water softener or heater, depending on the water quality problem and the rest of the treatment train; consult a professional because the exact order can change with the system. A carbon filter may need a bypass loop so you can service it without shutting off the entire house. Most whole-house housings are built for 3/4-inch, 1-inch, or 1 1/4-inch pipe, and the size has to match the home’s flow demand or pressure drop becomes obvious. The U.S. Environmental Protection Agency notes that point-of-entry treatment is often selected based on the contaminant and the system design, not on one universal layout.
This does not fit every house. If your main line is old galvanized steel, corroded copper, or buried in a wall, the best location may be harder to reach and may require replumbing. If you have a well system with a pressure tank, the filter location can be affected by the pump cycle and the tank’s drawdown. If your water contains high iron, sulfur, or hardness, a single filter may not solve the whole problem; you may need filtration plus softening or oxidation.
I would not treat this as a decorative add-on; consult a professional if the piping is crowded, hidden, or already marginal. The wrong placement can starve pressure, make cartridge changes miserable, or leave the water heater and fixtures unprotected. If you are dealing with a fire sprinkler tie-in, a recirculation loop, or a building with multiple units, this stops being a simple home project and becomes a layout problem that should be planned from the plumbing schematic, not guessed at the wall.
Where should a whole house water filter go in the plumbing?
It should go on the main cold-water supply line, upstream of all branch lines and downstream of the meter or pressure tank, with enough straight pipe for the housing, unions, and shutoff valves. That is the shortest answer, and it is the one I would use unless your plumbing has a special feature that changes the order. For a typical residence, the filter is usually installed on the cold inlet before the first tee, but check the code and manufacturer guidance for your area.
The usual sequence is:
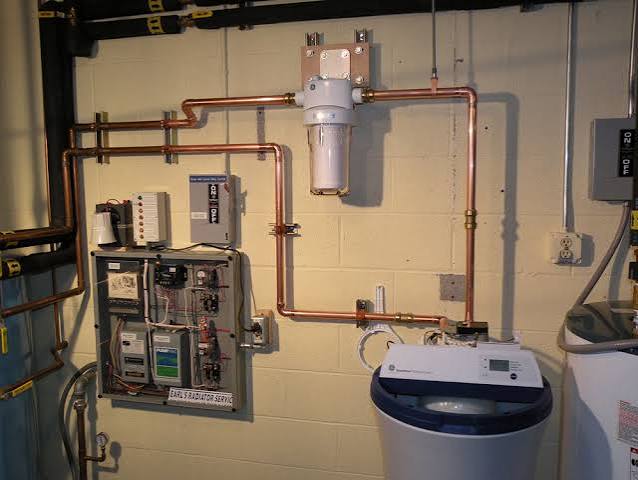
- Municipal water: service line → meter → main shutoff → pressure-reducing valve, if present → filter → softener or other treatment, if used → house branches.
- Private well: well pump → pressure tank → pressure switch area → filter → softener or UV, if used → house branches.
That sequence matters because a filter belongs where it can protect the rest of the system without filtering water you do not need to treat. The water heater should usually be after the filter so sediment does not load up the tank or tankless heater. Put the sediment filter after the heater, and you miss the chance to protect the appliance. The International Plumbing Code and the Uniform Plumbing Code both expect equipment to be installed in a way that preserves access, serviceability, and proper flow.
I usually think in terms of three practical goals:
- Treat the whole house, not one branch.
- Keep the filter accessible for 6- to 12-month cartridge changes, or whatever interval the cartridge rating calls for.
- Avoid pressure loss from unnecessary elbows, tight turns, or undersized pipe.
The right spot is not always the closest spot. A filter crammed into a crawlspace corner may be technically “on the main line” and still be a bad install because nobody can service it without draining the house. A straight section in the basement or utility room, near the main shutoff, is often better even if it means a little more piping.
If your home has a pressure-reducing valve, check whether it sits before or after the meter assembly and local code requirements. In some layouts, you want the filter on the house side of the PRV so the filter sees a controlled pressure. In others, the PRV itself should be protected from sediment by being upstream of the filter. Local plumbing code and the equipment instructions should drive that decision.
How do you place it correctly?
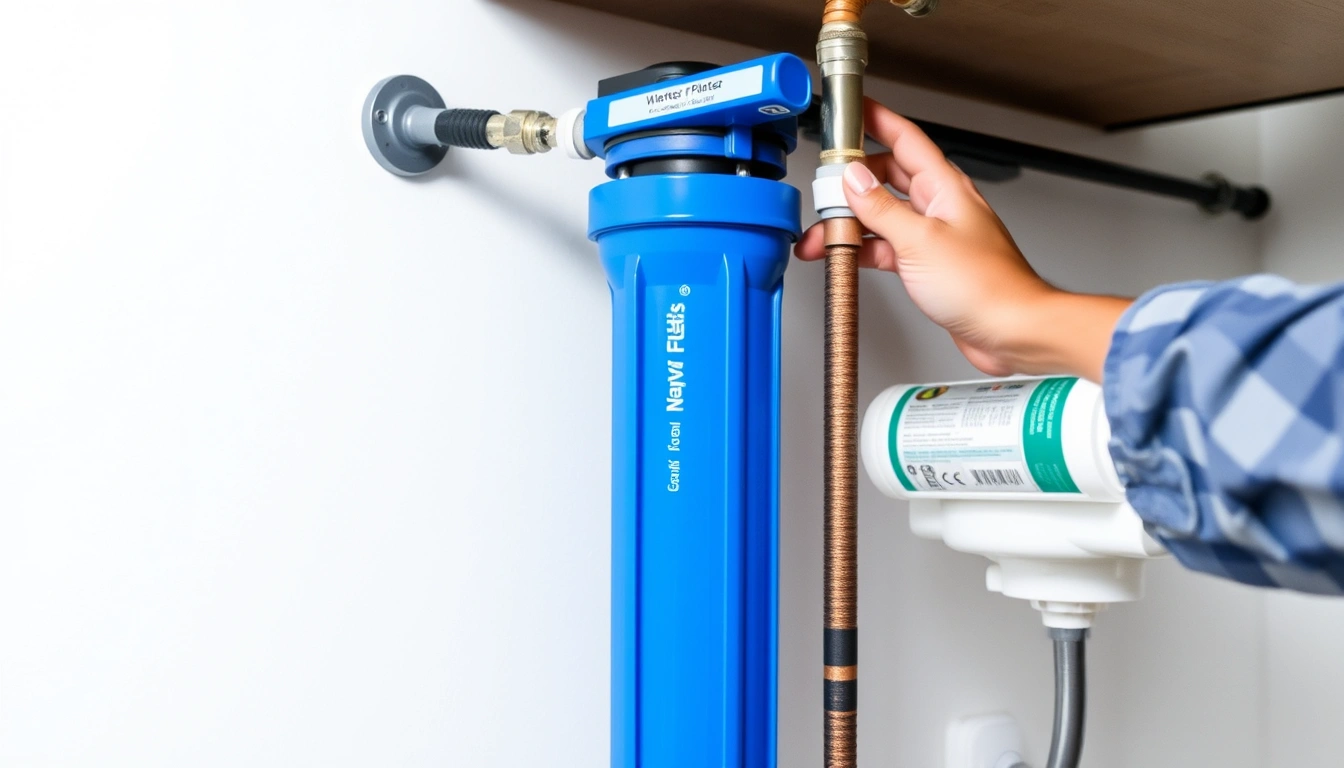
Place it where the main line is easy to reach, can be isolated, and has enough length for service; then verify flow direction, clearance, and shutoff access before you cut pipe. I’d treat this as a layout job first and a cutting job second.
- Find the exact main line entry point. Trace the pipe from the meter or pressure tank to the first distribution split. Verify which line is cold supply only and which branch feeds the water heater. If you cannot trace it confidently, stop; a wrong cut can isolate half the house.
- Choose a straight run with room for service. Leave at least the filter housing length plus 6 to 12 inches of working space on each side for unions, valves, and cartridge removal. Verify that the sump or housing can drop downward far enough to change the filter. If the canister hits a wall, shelf, or floor, the location is wrong.
- Confirm flow direction and orientation. Most housings have an arrow showing inlet to outlet. Install with the inlet on the supply side and the drain or sump pointed down if that is the design. If the arrow is reversed, the filter media may not work correctly and pressure loss can increase.
- Install shutoff valves on both sides. Put a full-port ball valve before and after the filter so you can isolate it. Verify you can close both without emptying the entire system. If only one side is valved, cartridge changes become messy and slow.
- Add a bypass loop if the cartridge or media needs downtime. A three-valve bypass lets water continue around the filter during service. Verify the bypass is labeled clearly. If the bypass is unlabeled, someone will open the wrong valve later and send untreated water through the house.
- Respect pipe size and pressure drop. Match the housing ports to the existing line — often 3/4-inch or 1-inch in a residence. If the filter body or cartridge is undersized for the home’s flow, shower pressure and appliance fill rates will drop when multiple fixtures run.
- Use the correct fittings for the pipe material. Copper needs sweat or press fittings; PEX needs the proper crimp, clamp, or expansion method; CPVC needs solvent-weld fittings rated for potable water. Verify that the fittings are rated for the static pressure in the system, commonly 50 to 80 psi in residential use. A loose or mismatched fitting will show up as seepage during the first pressure cycle.
- Pressure-test and flush before putting it into service. Slowly repressurize, inspect every joint, then flush the filter per the manufacturer’s instructions until the water runs clear. If the system hammers, leaks, or drops pressure sharply, stop and find the cause before leaving the line in service.
A clean install usually takes a few hours in an accessible basement or mechanical room. A cramped crawlspace, pipe reroute, or well-system modification can take longer. If the work requires soldering near finished walls, that adds both labor and risk.
For standards and code context, the International Association of Plumbing and Mechanical Officials’ Uniform Plumbing Code and the International Plumbing Code are the reference points many jurisdictions adopt in some form. Local amendments matter, so the code book alone is not the whole answer.
What happens if you put it in the wrong place?
The wrong place usually costs you pressure, convenience, or both. A whole house filter is not just a container of media; it is a restriction in the line. Put it badly, and every shower and appliance reminds you.
The most common bad locations are after the water heater, after the first branch split, or in a spot with no room to service the housing. After the heater is the worst of the three because sediment reaches the tank first. After a branch split means only part of the house is filtered, which defeats the point. A hard-to-reach place turns routine cartridge replacement into a messy shutdown.
There is also a subtle failure mode: installing a filter upstream of a pressure-reducing valve or softener without checking the system pressure and flow demand. On paper the line looks correct. In use, the house feels sluggish because the filter, PRV, and other treatment components all add resistance. If you see pressure swings when two fixtures run at once, the system may be undersized or arranged poorly. That math stops working fast.
For municipal water, I would be cautious about placing any treatment device where it becomes difficult to isolate from the meter or backflow assembly. For wells, the pump and pressure tank create cycling pressure, so the filter should be placed where it does not become the weakest point in a system that already works hard. Well water with heavy sediment may also need a spin-down separator ahead of the finer cartridge stage. That is a different setup, not just a bigger filter.
A good result looks boring: steady pressure, clean water, easy cartridge access, and no puddles around the housing after a pressure cycle. If you have to move furniture, drain half the house, or fight the wall every time the filter changes, the location is wrong even if it “works.”
When should you stop and change the plan?
You should stop and change the plan when the plumbing layout, water quality, or access makes a single inline filter the wrong tool. That is not failure; it is good judgment.
No straight pipe run of at least 12 to 18 inches: the housing, valves, and unions will be cramped — choose a different location or reroute the pipe so the cartridge can be removed cleanly.
Main line is buried behind finished surfaces: cutting into it may create a large repair job — move the install to the utility side or have the line reworked at an accessible point.
House pressure is already marginal, below roughly 40 psi at fixtures: any added restriction can make the home feel weak — size the filter differently or solve the pressure issue first.
Water has heavy iron, manganese, sulfur, or very high sediment: a single cartridge filter may clog too fast — use a staged treatment setup such as a sediment prefilter, iron treatment, or softener as appropriate.
The system includes a recirculation loop, fire protection, or multiple dwelling branches: the piping logic is more complex — the filter location should be planned from the whole system, not from one wall cavity.
You cannot identify the main shutoff or pressure tank confidently: the risk of cutting the wrong pipe is too high — trace the system completely before touching a saw or torch.
Those are the moments when “just put it near the water heater” turns into an expensive mistake. A good layout protects the equipment and the person who will service it later.
The mistakes I see most often
The biggest mistake is putting the filter where it is easy to reach but wrong for the plumbing. That usually means a branch line, the hot side, or a spot after the heater. The consequence is partial treatment or no protection for the heater. The better alternative is to stay on the main cold-water entry line.
Another common error is ignoring the direction arrow on the housing. If the inlet and outlet are reversed, some cartridges perform poorly and some housings do not seal the way they should. The fix is simple: read the flow marking before tightening the unions.
People also undersize the system. A small housing on a house with multiple bathrooms can cause a noticeable pressure drop when two fixtures open at once. The alternative is to choose a housing and cartridge rated for the home’s expected flow, not just the pipe size.
I also see installs with no bypass and no isolation valves. That turns one dirty cartridge into a house-wide shutdown. The correct alternative is a shutoff on both sides, and often a bypass loop for service.
The last mistake is skipping the flush. New filters can shed carbon fines or trapped air, and sediment housings can collect debris from cutting the pipe. If you do not flush per the manufacturer’s instructions, the first water from the tap may be cloudy. That is not usually dangerous, but it is a sign the system was not brought online properly.
How long does installation take, and what should a good quote include?
A straightforward whole house filter install often takes 2 to 4 hours in an accessible mechanical room, but a tight crawlspace, pipe relocation, or multi-stage treatment setup can take most of a day. The time depends less on the filter itself than on where the plumbing allows it to go.
If you are asking a contractor for a quote, I would want to see these items spelled out:
- exact filter location
- pipe material and size
- whether shutoff valves and a bypass are included
- whether the install includes a pressure test and flush
- whether drywall repair, electrical work for a UV unit, or disposal of old parts is included
- cartridge or media replacement cost, if the same company will service it later
A quote that only says “install whole house filter” is too thin to compare. If the price is low because the contractor plans to cut into a hidden line or skip isolation valves, that is not a bargain. If the price is higher because the install includes a proper bypass, union fittings, and pressure testing, that may be the better job.
I would also ask what maintenance interval the filter is designed for. Some sediment cartridges need changing based on gallons filtered, not just months. A good quote should also say whether the first cartridge change is included and whether the system is sized for the home’s peak demand.
Leave a Reply