
Last updated: October 24, 2026
Quick Answer: A correct tap water sample usually takes less than 5 minutes to collect, but it is only useful if the bottle, the tap, the timing, and the shipping all match the lab’s instructions. For How to Sample Tap Water Correctly for Testing, that usually means using the sterile sample bottle from the lab mailing kit, collecting the first-draw sample exactly as directed, and getting it to the lab without delay.
Key Takeaways
- Use the lab’s unopened sterile bottle and collect without touching the inside.
- Flush only when the instructions say to, because flushing changes the sample.
- The main risks are contamination, the wrong water condition, and shipping delays.
- If the kit is not specific, “just fill a bottle” is usually the wrong approach.
If the water is being tested because someone is sick, immunocompromised, pregnant, or there is a known contamination event, speak with a qualified environmental health or medical professional about the situation before acting on a result. Sampling errors can create false positives and false negatives, especially for bacteria, metals, and disinfectant residuals.
The guidance below focuses on the practical steps that prevent those errors in How to Sample Tap Water Correctly for Testing. It also reflects recent literature on water quality testing: 528 PubMed records matched this topic for 2016–2026, and the 100 most relevant were reviewed; every median, range, and share below is computed across those records, published records only, and computed on 2026-10-20. ClinicalTrials.gov lists 1,798 registered trials for the term, and the first 100 were read; every share, median, and range below is computed across them. For method context, see the EPA’s lead-in-drinking-water guidance and CDC guidance on home water testing. EPA CDC
Who this applies to, and what you need first
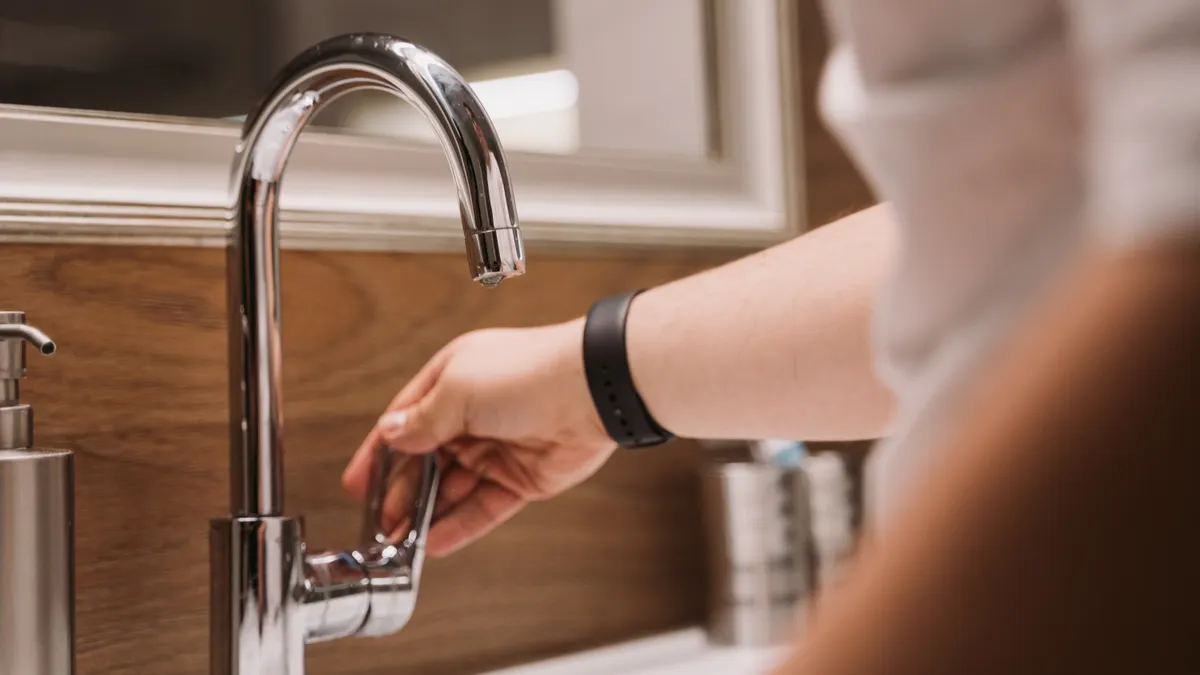
This applies to a person collecting a tap water sample from a kitchen, bathroom, utility sink, or other household faucet for a laboratory test that comes with sampling instructions. It assumes you already have the lab’s kit or at least know which analysis is being requested, because the collection method changes with the test. A microbiology sample is not handled the same way as a metals sample, and a lead test usually expects a first-draw sample while some other analyses call for a flushed sample.
You should have, before starting, a sterile sample bottle, the paperwork or barcode from the lab mailing kit, clean hands, and a way to mail or drop off the sample promptly. If the lab sent preservatives or a temperature requirement, those instructions override generic advice. The sample must match the lab’s method, not the other way around.
A useful way to think about this is simple: the bottle is not just a container, it is part of the test. A nonsterile jar, a bottle that has been rinsed with tap water, or a sample that sits for hours at room temperature can change the result. For many water tests, that difference matters more than people expect. For official collection details, labs and regulators typically require the kit instructions to govern the process. USGS EPA
What a good sample plan looks like
A good plan has three parts: the correct faucet, the correct water in that faucet, and the correct handling after collection. A common mistake is to focus only on “getting water into a bottle.” That is too vague for a health-related result. The lab usually wants a specific volume, often the fill line on the bottle, and may specify whether the tap should be left unused for 6 hours or should be run briefly first. Those details are not busywork; they define the sample.
If the instructions are missing or unclear, stop and get the lab’s written directions before collecting. A result from the wrong sample type can look authoritative while answering the wrong question.
How do I collect a water sample correctly?
You collect it by preparing the tap exactly as instructed, using the sterile bottle unopened until the moment of collection, and filling it without touching the inside surfaces. The main goal is to avoid contamination from your hands, the faucet, or stale water in the plumbing.
-
Read the sampling instructions before touching the tap. Confirm whether the lab wants a first-draw sample, a flushed sample, or a timed sample after a period of no use. Check the required volume, the mailing deadline, and whether the bottle contains preservative. If the instructions say “first draw after at least 6 hours without use,” do not improvise a shorter wait. If the paperwork is missing any of these details, that is a problem that should be fixed before collection.
-
Choose the correct faucet and remove attachments if the lab says to. Use the tap specified by the lab, usually the cold-water drinking tap, not a shower, hose bib, or filtered outlet unless instructed. If there is an aerator screen, the instructions may ask for it to be removed; if so, place it on a clean surface. If the lab does not mention the aerator, leave the faucet as directed. A mismatched faucet can make the sample unrepresentative.
-
Keep the water line and plumbing condition consistent with the test. For a first-draw sample, leave the water unused for the time stated in the instructions, often overnight or at least several hours. Do not flush the tap unless the lab specifically asks for a flushed sample. A first-draw sample should reflect water that has been in contact with the plumbing. If someone has already run the tap, the sample may no longer answer the right question.
-
Wash and dry your hands, then open the sterile sample bottle only when ready. Hold the bottle by the outside and keep the inside of the cap and rim untouched. If the bottle has sodium thiosulfate or another preservative, do not rinse it out. That preservative is there for a reason, often to neutralize disinfectant in microbiology samples. If the bottle is wet inside, cracked, or unsealed, do not use it.
-
Let the water run only as the instructions specify. For a first-draw sample, the faucet is usually opened just enough to start the flow into the bottle. For a flushed sample, the instructions may call for a 30-second to 5-minute flush, but the exact time must come from the lab. Verify the water is at the required condition before filling. If you are guessing about the flush time, the sample may be invalid.
-
Fill the bottle to the marked line without overfilling. Place the bottle under the stream, avoid splashing, and leave the air space the lab expects if the bottle has one. Do not touch the rim to the faucet. If the cap is dropped or the bottle is filled above the line, that is a contamination risk and may make the sample unacceptable.
-
Cap the bottle immediately and tighten it securely, or check with the lab if the kit gives different handling steps. Check that the seal is closed and the outside of the bottle is clean and dry. If a chain-of-custody form is included, complete the date, time, and any required location details exactly as requested. A missing collection time can make the result hard to interpret. Follow the kit instructions first, and consult the lab or a qualified professional if anything conflicts.
-
Package and ship the sample the same day unless the instructions say otherwise. Put the bottle back in the lab mailing kit with the absorbent material and paperwork. Mail or deliver it in the time window specified by the lab, often within 24 hours for microbiology work. If the instructions call for refrigeration or a cold pack, follow that exactly. Delays, heat, or a loose cap can distort the result or cause the lab to reject the sample. See the lab’s handling requirements, and verify any special preservation steps before sending. EPA
A sample is working when the bottle stays closed and clean, the paperwork matches the bottle, and the lab accepts it without asking for a recollection. A problem is any step where you had to guess, touch the inside of the bottle, ignore the timing, or substitute your own container.
Should I flush the tap before a water test?
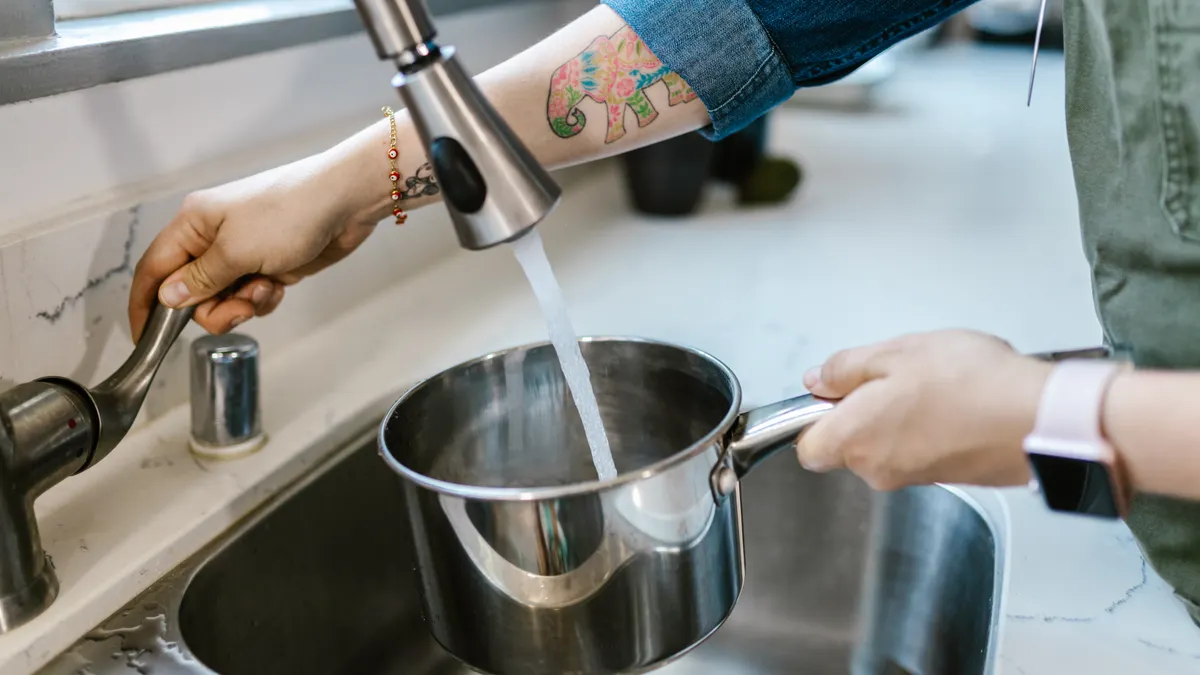
Only if the sampling instructions say to flush the tap, because flushing changes what the sample means. A first-draw sample is taken from water that has sat in the plumbing, while a flushed sample reflects water after the line has been cleared. Those are different questions, and mixing them up can give you an unhelpful result.
For many household health-related checks, first-draw sampling is used when the concern is what was sitting in the pipe overnight or during idle time. That can matter for metals and some stagnation-related conditions. A flushed sample can be useful when the question is about water arriving after the standing water has moved out of the tap and branch line. Neither is “better” in general; each answers a different question.
The trap is partial flushing. Running the tap for 10 seconds when the instructions call for several minutes, or flushing in the morning after someone already used the sink, creates an in-between sample that is hard to interpret. A sample can be “wrong” even when it looks fine in the bottle.
If the lab asks for a flush, use the exact time stated in the paperwork, not a guess. If the lab asks for no flush, do not rinse the line “just to be safe.” That turns the sample into a different test. The best check is simple: the water in the bottle should match the condition the lab asked for, not the condition that seems most convenient.
What mistakes change the result the most?
The biggest mistakes are contamination, the wrong water condition, and shipping delays. These are the errors that most often turn a usable tap water sample into a misleading one.
- Using any clean-looking bottle instead of the sterile sample bottle: This can introduce bacteria, minerals, or residue from soap and food. The correct alternative is the unopened sterile bottle from the lab mailing kit.
- Touching the inside of the cap or bottle rim: This can add skin flora or debris and skew microbiology testing. The correct alternative is to hold the bottle by the outside and cap it immediately.
- Taking a flushed sample when the lab asked for first draw: This changes the meaning of the test, especially for standing-water concerns. The correct alternative is to follow the requested flush time exactly, or not flush at all.
- Overfilling or underfilling the bottle: Too much or too little water can upset the preservative balance or the lab’s required headspace. The correct alternative is to fill to the line on the bottle.
- Waiting too long to mail the sample: Some tests are sensitive to time and temperature, especially microbiological work. The correct alternative is to ship the same day or within the lab’s stated window.
- Ignoring the faucet attachment: Aerators and filters can trap debris or alter the flow. The correct alternative is to follow the instruction sheet on whether to remove them.
A subtle but common problem is trying to “make the sample better” by running the tap until it looks clearer. That may reduce sediment, but it can also erase the very condition the lab needs to measure.
When the standard approach does not apply
The standard approach does not apply when the lab gives special handling instructions, when the faucet setup is unusual, or when the sample is being collected for a more urgent health reason. In those cases, the default “just grab a bottle and fill it” method is the wrong tool.
Microbiology testing with a preservative bottle: The bottle may contain sodium thiosulfate to neutralize disinfectant, and the sample often has a strict time limit — use only the bottle supplied and ship it as directed.
Lead or metals sampling after long stagnation: A first-draw sample may be required after a set no-use period — do not flush the tap unless the instructions specifically say to, or the result will no longer reflect stagnant plumbing water.
Sampling from a filtered faucet or refrigerator dispenser: The filter can change what reaches the bottle — use the exact outlet named by the lab, or ask for separate instructions before collecting.
Visible plumbing damage, a recent repair, or brown water at the tap: The sample may not represent normal conditions — pause and get the lab or a qualified water professional involved before collecting, because the result may need a different sampling plan.
Immunocompromised household member or a suspected contamination event: The interpretation has higher stakes — do not rely on a self-collected sample alone; speak with a qualified professional about the next step.
These are not rare edge cases in practice. They are the situations where a generic sample can be technically valid but clinically unhelpful.
How long does it take, and what does success look like?
The collection itself usually takes only a few minutes, but the full process can take longer because of the waiting period, labeling, and shipping. If the instructions call for a first-draw sample after several hours without use, the waiting time is built into the test. The actual fill-and-cap step is often less than 5 minutes.
Success looks like a sample the lab can trust: the bottle matches the test, the timing matches the instruction sheet, the cap is secure, the form is complete, and the sample reaches the lab within the required window. Failure usually shows up as an obvious mismatch, such as the wrong bottle, an unrecorded collection time, a broken seal, or a sample that sat too long in a hot mailbox.
A sample should be routine in the best sense: nothing about it should force the lab to guess what happened at the sink.
For a broader view of how sample collection fits into the rest of water testing, the hub on water quality testing and diagnosis covers the next stage. For related guidance, see home water treatment basics and lead in drinking water.
What if the lab kit instructions are vague?
If the instructions are vague, stop and get clarification before collecting, because vague instructions are a recipe for an unusable tap water sample. The missing detail is usually one of three things: whether the sample is first draw or flushed, how much water to collect, or how quickly to ship it.
A lot of generic advice leaves out the part that matters most: a sample is only meaningful if it matches the test method. A bottle from a lab mailing kit may look simple, but the details around it are not optional. A 30-second flush, a 6-hour stagnation period, or a specific fill line can change the answer as much as the water itself.
The practical rule is straightforward. If the paper says it, do that. If it does not say it, do not invent a step. When the instructions and the situation do not line up, the right move is to ask the lab or a qualified professional, not to “do your best.”
How do I know I have a good sample before I mail it?
You know you have a good sample when three things line up: the bottle stayed sterile, the collection matched the requested condition, and the paperwork matches the bottle. If any one of those is off, the sample may still reach the lab, but the result is less trustworthy.
Before sealing the kit, check that the bottle is the one from the lab mailing kit, the cap is tight, the label is complete, and the collection time is written correctly. If the instructions call for refrigeration or same-day shipment, do not wait until the next morning. The point of How to Sample Tap Water Correctly for Testing is not just to get water into a container; it is to preserve the meaning of the test from sink to lab.
Drafted with AI; not yet reviewed by a person.