Last updated: September 10, 2026
Key Takeaways
- Wipe each joint dry with a paper towel and watch for fresh moisture for at least 5 minutes.
- For a straightforward under-sink cartridge swap, a careful person can often finish in 30 to 90 minutes.
- A typical point-of-use water filter install often takes 30 to 90 minutes, depending on the fittings, access, and whether any old parts need replacing.
- A $30 filter can leak for the same reason a $300 one does: a tiny gap or twisted seal.
Leaks after a water filter install usually trace back to a short list of avoidable missteps: the wrong fitting, a missed seal, a bad cut on the tubing, or over-tightening a plastic housing. Countertop units, under-sink cartridge systems, reverse osmosis setups, and refrigerator filter lines all tend to fail in the same few ways. Good news, though: most of these leaks can be pinned down in under an hour if you know where to look.
Who this applies to, and what I assume you already have
This is for someone installing a point-of-use water filter at a sink, fridge, or small appliance — not a whole-house system tied into a main line. I’m assuming you already have the filter kit, the shutoff valve closed, basic hand tools, and the ability to tell a compression fitting from a push-fit fitting. I’m also assuming you know which way water is supposed to flow through the unit, because a backward install can cause immediate dripping or a pressure lock that makes fittings weep.
Whole-house work is a different beast. So are damaged copper lines, corroded shutoff valves, and jobs that need soldering. A badly installed cartridge housing under a sink can flood a cabinet; a bad tee on a supply line can do even more damage. At that point, the question stops being “which washer did I miss?” and becomes “is the plumbing itself sound enough to modify?”
Most leak-causing mistakes are not mysterious. They cluster around a handful of details: tubing cut square, O-ring seated, thread type matched, sealant used only where it belongs, and pressure restored slowly. A lot of readers blame the filter brand when the real issue is the install method. Honestly, that happens a lot. A $30 filter can leak for the same reason a $300 one does: a tiny gap or twisted seal.
If you are trying to decide whether to call someone, I would draw the line at anything involving brittle plastic housings, hidden leaks behind finished walls, or supply lines that have already been patched once. That kind of “almost fixed” plumbing is where a minor drip turns into a cabinet replacement.
What usually leaks first
The first drip often shows up at the connection you touched most recently, but that is not always the real source. Water runs along tubing, drops off the lowest edge, and makes the wrong fitting look guilty. I check four spots first: the inlet fitting, the outlet fitting, the filter head-to-cartridge seal, and any threaded adapter that was added to bridge two different connection types.
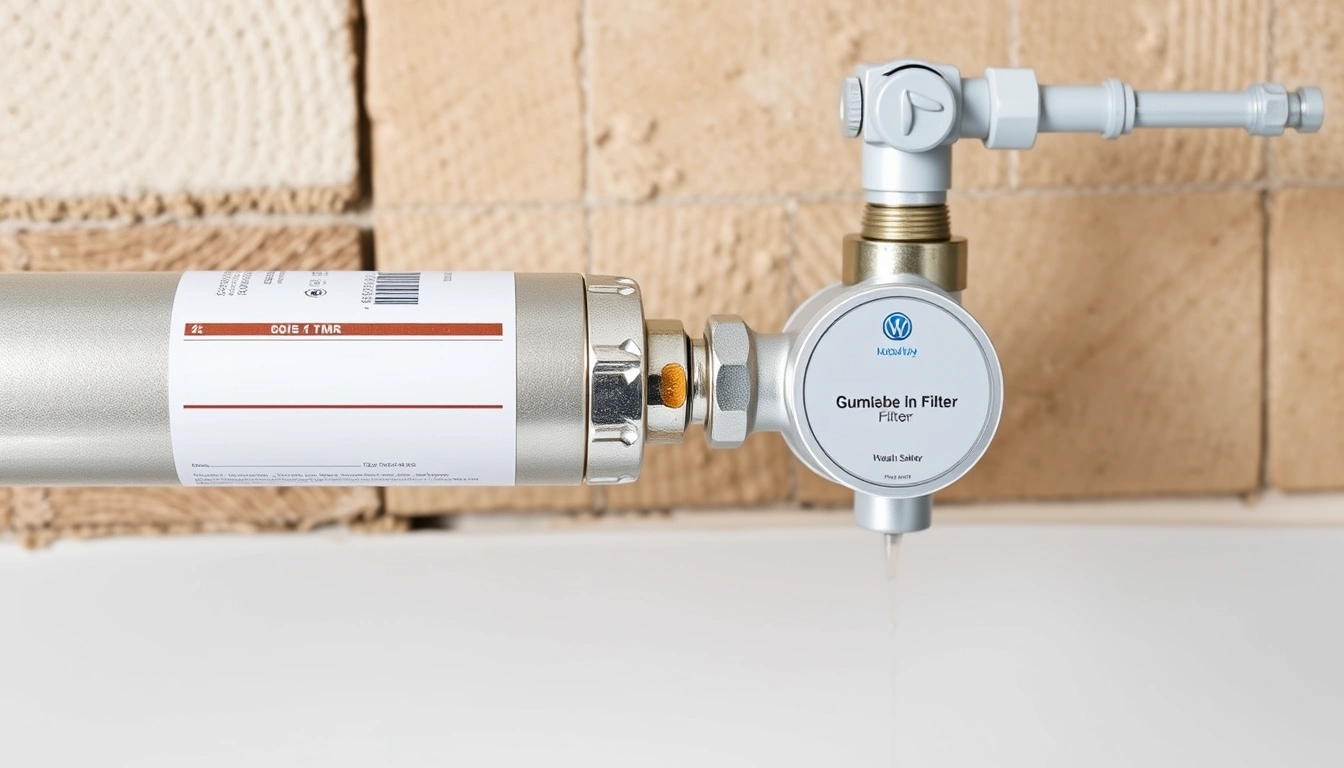
Names matter here. An O-ring is the round rubber seal inside many filter housings. A compression fitting seals when a ferrule, sometimes called an olive, squeezes onto tubing. A push-fit fitting seals when the tube is cut clean and seated past the internal grab ring. A male NPT thread, common on many adapters, seals on tapered threads and usually needs thread sealant or PTFE tape; a compression joint does not. Mix those up, and you get a leak. Simple as that.
The usual failure mode is straightforward: the installer assumes “tight enough” means the same thing for every fitting. It doesn’t. Plastic housings want snug hand force and maybe a quarter turn with the supplied wrench, not brute force. Compression nuts need firm resistance but should not be cranked until the tube bows. Push-fit ends need a clean 90-degree cut, not a crushed end from dull cutters.
Pressure is the other trap. If a home sits at the high end of residential pressure, a marginal joint can seep even when it looks fine during the first few minutes. Many filter systems are happiest in typical residential pressure ranges, often around 40 to 60 psi, but the safe operating range is the one printed by the manufacturer. If the housing or line is stressed beyond that, no amount of tape will fix it. The International Association of Plumbing and Mechanical Officials notes that water pressure above typical residential ranges can create performance and leak issues, and EPA guidance also recommends checking for excessive pressure before assuming a fixture problem.
See the EPA’s WaterSense leak guidance and IAPMO resources on plumbing system pressure.
How to install it without creating a leak
You dodge most leaks by treating the install like a sequence, not a single “hook it up” step. Here is the method I would follow for a standard under-sink or point-of-use filter with flexible tubing and push-fit or compression connections, with the manufacturer’s instructions always taking priority:
- Shut off the supply and relieve pressure. Close the cold-water stop valve fully, then open the faucet for 10 to 20 seconds until flow slows to a drip. Verify: the line is no longer pressurized. Problem sign: water keeps forcing out of the tube or valve after shutoff, which points to a bad stop valve or trapped pressure upstream.
- Identify every fitting type before assembly. Match push-fit to smooth tubing, compression to the correct outside diameter, and NPT threads only where the adapter calls for them. Common tubing sizes are 1/4 inch and 3/8 inch. Verify: the labeled size on the tubing matches the port. Problem sign: a tube that wiggles in the fitting or threads that only catch on one or two turns.
- Cut tubing square with a sharp cutter. Make a clean 90-degree cut, not a diagonal bite or crushed end. Trim at least 1/2 inch back if the end is scratched or oval. Verify: the cut face is flat and round. Problem sign: visible gouges, a ridge, or a flattened edge that will not seat fully.
- Seat push-fit tubing fully. Push the tube in until it stops, then pull back lightly to confirm the internal grab ring has engaged. On many fittings, that means the tube goes in about 5/8 inch to 3/4 inch, but follow the fitting’s own insertion mark if it has one. Verify: the tube will not back out when tugged. Problem sign: the tube can slide out or only part of the end enters the collar.
- Prep O-rings and housings. Inspect the O-ring for cuts, flattening, or grit; wipe it clean and seat it evenly in the groove. If the manufacturer allows it, apply a thin film of food-safe silicone grease, not pipe dope. Verify: the O-ring sits flat with no twist. Problem sign: a pinched edge, dry crack, or housing that closes unevenly.
- Use thread sealant only on threaded pipe joints. Wrap PTFE tape 2 to 3 turns clockwise on male threads, or use a compatible thread sealant approved for potable water. Keep sealant off O-rings and compression ferrules. Verify: threads hand-start smoothly for several turns. Problem sign: cross-threading, white tape clumps, or a joint that binds immediately.
- Tighten with restraint. For plastic housings, hand-tighten and then use the supplied wrench only to the manufacturer’s mark or about a quarter turn. For compression nuts, tighten until resistance increases, then stop and test before adding more. Verify: no visible gap at the housing seam and no tube distortion at the compression fitting. Problem sign: cracked plastic, a bent tube, or a nut that needs repeated force to keep sealing.
- Restore pressure slowly and inspect in stages. Open the stop valve half a turn first, check for 30 to 60 seconds, then open it fully. Wipe each joint dry with a paper towel and watch for fresh moisture for at least 5 minutes. Verify: the towel stays dry and no bead forms. Problem sign: a slow reappearing sheen, which often means the seal is being forced out by pressure.
This sequence works because it separates the usual failure points before the system is under full pressure. Catch a leak in step 8, and it’s a quick fix. Miss it until the cabinet fills, and now you’re in insurance-claim territory. For a basic point-of-use water filter, the sequence also gives you a clean way to compare your work with the installation steps in the manufacturer’s manual and a plumbing source such as the EPA’s WaterSense guidance.
What mistakes people actually make, and what each one costs
Wrong sealant, wrong place. That is the top one. PTFE tape belongs on tapered threaded joints, not on O-rings or compression fittings. Wrap tape around a compression ferrule, and the ferrule may not bite correctly; the joint then drips later. The correct alternative is to seal only threaded pipe threads and leave compression surfaces clean.
Over-tightening plastic housings is another classic. People assume “tighter” means “safer,” but many filter bowls and heads are designed to seal with modest force. Cranking harder can deform the O-ring, split the housing lip, or make the next cartridge change a pain. The correct alternative is hand-tight plus the manufacturer’s specified fraction of a turn, not muscle.
A third mistake is using dull side cutters or household scissors on tubing. The end looks close enough, but the oval or crushed edge leaves a tiny gap inside a push-fit connector. That gap becomes a drip under pressure. The right move is a dedicated tubing cutter that leaves a square edge, especially on 1/4-inch polyethylene tubing.
Push-fit fittings bring their own trouble. If the tube is not fully seated, it may hold during the first minute and fail later when pressure cycles. The correct alternative is to push until it stops, then confirm with a light pull. On fittings with a release collar, you should also see the tube pass the depth mark.
Reusing damaged O-rings is another one. A flattened seal can look usable and still leak the moment the bowl is pressurized. That mistake often costs time, wasted cartridges, and a wet cabinet bottom. The right alternative is to inspect the O-ring every time you open the housing and replace it if there is any cut, twist, or hardening.
The last problem is rushing the pressure test. A dry towel for 20 seconds does not prove much. Small leaks often show up only after the line settles and the housing warms or cools. I’d keep an eye on the joints for 5 to 10 minutes and then check again after the first full draw of water. That slower pace feels fussy, but it saves headaches.
When should I stop and call someone?
Stop when the leak points to a deeper plumbing problem, not a filter-install problem. Here are the situations where I would not keep tightening and hoping:
The shutoff valve will not fully stop flow: that means the supply is still live or the valve seat is failing — stop, avoid opening fittings, and get the line isolated before continuing.
The plastic housing is cracked or shows white stress marks: that means the body has been damaged and may fail under pressure — replace the part, and if the crack is at the head or manifold, have the setup evaluated before reuse.
The tubing end is scarred, oval, or repeatedly pops out of a push-fit connector: that means the tube is the wrong size or has been damaged by previous cuts — cut back to clean tubing or replace the line.
The leak is behind a wall, under a floor, or inside a cabinet base you cannot fully inspect: that means water may be spreading where you cannot see it — stop and have the line traced and repaired before restoring normal service.
The system needs a saddle valve, soldered tee, or corroded adapter to connect: that means the install is no longer a simple filter hookup — do not improvise with mismatched parts, because the joint will likely seep.
Water pressure feels unusually strong, or the filter housing hammers when the faucet closes: that means pressure or water hammer may be stressing the fittings — check pressure regulation and line support before assuming the filter itself is the issue.
For a straightforward under-sink cartridge swap, a careful person can often finish in 30 to 90 minutes. Once the work starts involving old metal pipe, fragile plastic, or hidden leaks, the risk shifts from nuisance drip to structural damage.
What changes in older homes, fridges, and high-pressure areas?
Older homes and refrigerator lines need more caution because the materials are less forgiving. In a house with old copper, brittle plastic, or corroded compression stops, the fitting that looks normal may not seal well after one disturbance. Refrigerator water lines often use 1/4-inch tubing and compact push-fit connectors, which are sensitive to a sloppy cut. A tiny nick that would survive at a sink can drip at the fridge because the line is longer, thinner, and moved more often.
High-pressure neighborhoods are another special case. If the static pressure is above the manufacturer’s recommended range, even a correct installation can seep at the first weak point. That is where a pressure-reducing valve, usually set in the residential range around 40 to 60 psi, matters more than another wrap of tape. If you do not know the pressure, a basic gauge that screws onto a hose bib is cheaper than guessing. The EPA recommends checking home water use and pressure-related symptoms before assuming the filter is at fault, and many plumbing manufacturers publish the same advice.
Very hard water also changes the picture. Mineral scale can hide a drip until the fitting is disturbed, then the dried crust breaks away and the leak shows up again. On cartridge housings, scale can make the O-ring groove gritty enough that the bowl never seats cleanly. In that case, wipe the sealing surfaces carefully and inspect for pitting before reassembly.
Reverse osmosis systems are their own category because they add more fittings, more tubing runs, and a storage tank connection. There are simply more places to make a mistake. If the leak is at the drain saddle, the fix is not “tighten harder”; it is checking whether the gasket is centered and the hole size is correct. A slightly misaligned drain saddle can seep constantly. For RO systems, the EPA’s drinking water and water filter guidance is a useful reference point, and the manufacturer’s diagram matters even more.
If you are on a well system, pressure cycling can expose marginal joints faster than a city supply. Short, repeated starts from the pump can make a small leak appear and disappear, which is a good reason to test the system through several cycles before declaring it fixed.
How long should a proper install take, and what does a good one look like?
A proper point-of-use water filter install usually takes 30 to 90 minutes, depending on the fittings, access, and whether any old parts need replacing. A simple cartridge swap may take less time, while a first-time install with new tubing, adapters, or a cramped cabinet can take longer.
Speed is not the main thing. The finished result is. The filter should sit square, the tubing should route without kinks, and the joints should stay dry after the first pressurization and again after a few minutes of use. If you are still smelling sealant, seeing white PTFE tape strands, or finding that one connection needs repeated tightening, the job is not done yet. Then check the manufacturer’s instructions, review the fitting type, and compare the setup with a plumbing source such as the EPA’s WaterSense page or the CDC’s drinking water guidance.
A finished installation is also quiet. It should not hiss, knock, or pulse when the faucet opens and closes. If it does, the leak may be coming with pressure imbalance or a loose line clip. That is the moment when a fresh pair of eyes, or a plumber, can be cheaper than another round of trial and error.
Leave a Reply