
Last updated: September 10, 2026
Key Takeaways
- For an under-sink unit, measure cabinet width, depth, and height, plus 2 to 4 inches of clearance for cartridge removal or tank access.
- Wipe every fitting dry, pressurize the line, then inspect again after the system has run for 5 to 10 minutes.
- A simple under-sink cartridge install may take about 1 to 2 hours in a clean cabinet with existing shutoffs.
- Under-sink systems often connect to a cold-water branch with a dedicated faucet.
Cleaner water at the kitchen sink is not a mystery, but the install can still go sideways fast. One crooked fitting, one missed clearance, and the whole thing turns fussy.
This water filtration installation basics — complete guide answers the real question: which setup fits your plumbing, your water source, and how much maintenance you can tolerate? I’ll say it plainly. A lot of good equipment gets undermined by a bad layout, the wrong bypass, or a sloppy connection.
Who this applies to, and what you need before you start
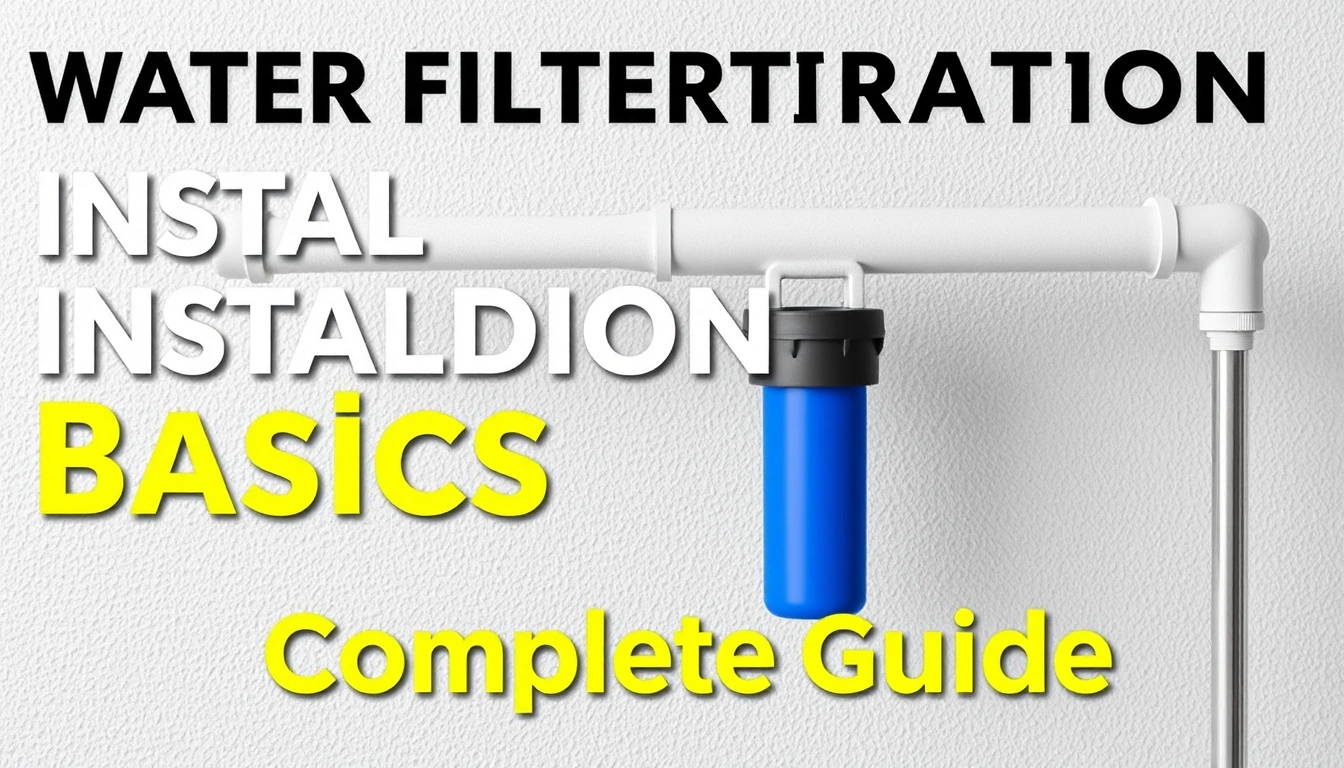
Homeowners, landlords, and property managers are the main audience here. You already know you want a filtration system installed; now you need to decide how the job should be done. I’m assuming you know your basic water source — municipal or private well — and whether you want a point-of-use system under one sink or a point-of-entry system for the whole house. If you do not know that yet, pause. Figure out the goal first.
Why? Because the installation changes a lot between a single faucet cartridge and a whole-house tank or multi-stage setup. No two paths look the same.
A whole-house filter usually sits on the main water line after the shutoff and pressure tank, if there is one, and before the distribution branches. Under-sink systems often connect to a cold-water branch with a dedicated faucet. Reverse osmosis, or RO, systems also need a drain connection and a place for the storage tank. That matters because plumbing, cabinet space, drain access, and water pressure all decide what is realistic.
Not every job is a DIY job. If your home has galvanized pipe, corroded shutoffs, hidden leaks, very low pressure, a private well with unknown water quality, or a required plumbing permit in your area, I would treat that as a reason to consult a qualified plumber or water-treatment installer. The same goes for any installation that needs soldering near finished surfaces, cutting into a slab-adjacent main line, or adding a drain line where one does not already exist. A bad install can mean leaks, pressure loss, or a system that simply does not deliver what the spec sheet promised. Ugly, but true.
Match the filter type to the water problem. Make sure the flow direction and size are right. Leave room for servicing. Then verify the installation with a pressure and leak check before you put the system into use. Industry standards such as NSF/ANSI 42, 53, 58, and 61 are worth knowing because they tell you what a product is designed to reduce or how it is intended to contact drinking water. If a system claims more than it can be installed to do, the trouble usually shows up right there in the plumbing.
What kind of water filtration installation do you actually need?
You need the installation type to fit the job, not the other way around. A kitchen-only taste-and-odor issue usually points to an under-sink carbon filter or an RO system with a dedicated faucet. Sediment, rust, and scale in the whole house usually point to a larger point-of-entry system. If the water is microbiologically unsafe, the filter is only one piece of the answer, and I would consult a water professional or local health authority so the installation is planned around disinfection or a properly certified treatment train. CDC guidance for private wells and drinking water treatment makes the same point: testing and source-specific treatment matter before relying on a filter alone.
The main installation categories are:
- Point-of-use (POU): one tap or one appliance. Common in kitchens and wet bars.
- Point-of-entry (POE): the whole house, usually installed on the main line.
- Under-sink cartridge systems: compact, easy to service, usually 1/4-inch or 3/8-inch tubing.
- Reverse osmosis systems: more parts, a drain connection, and usually a storage tank.
- Whole-house sediment or carbon tanks: larger flow rates, more mounting and bypass hardware.
Here’s the bit generic articles miss: water problems pile up. Sediment can clog carbon. Iron can foul cartridges. Hardness can shorten the life of a carbon-only setup if scale is the actual culprit. A filter that is perfect for chlorine reduction in city water may be a poor fit for a well with iron, manganese, or bacteria concerns. If the local water report shows chlorine, chloramine, turbidity, or lead concerns, I would have a qualified installer or treatment specialist confirm the right system before the install goes forward. Chloramine, for example, often needs a different carbon approach than free chlorine. EPA’s drinking water pages and consumer guidance are a good place to verify those source-specific concerns.
A good installer starts with the water report or test results and then checks the flow demand. A kitchen faucet does not need the same gallons-per-minute, or gpm, as a whole-house shower line. Many whole-house systems are selected based on 7 to 10 gpm home demand, but the exact sizing depends on fixture count and pressure. Too small, and pressure drops. Too large but badly placed? Then service access gets awkward, and nobody wants to maintain it.
Cost depends on the category. A simple under-sink installation may be a few hundred dollars for labor and parts if the plumbing is straightforward, while a whole-house system can run into the low thousands once the unit, bypass, fittings, drain work, and labor are included. A common under-sink RO setup is often quoted in the roughly $300 to $900 range for equipment and professional installation, while a whole-house install can exceed $1,500 to $3,000 depending on access and system size. The biggest cost drivers are not fancy features; they are access, pipe material, and whether the installer has to alter the main line or add drainage.
How do you install a water filter without creating leaks or pressure problems?
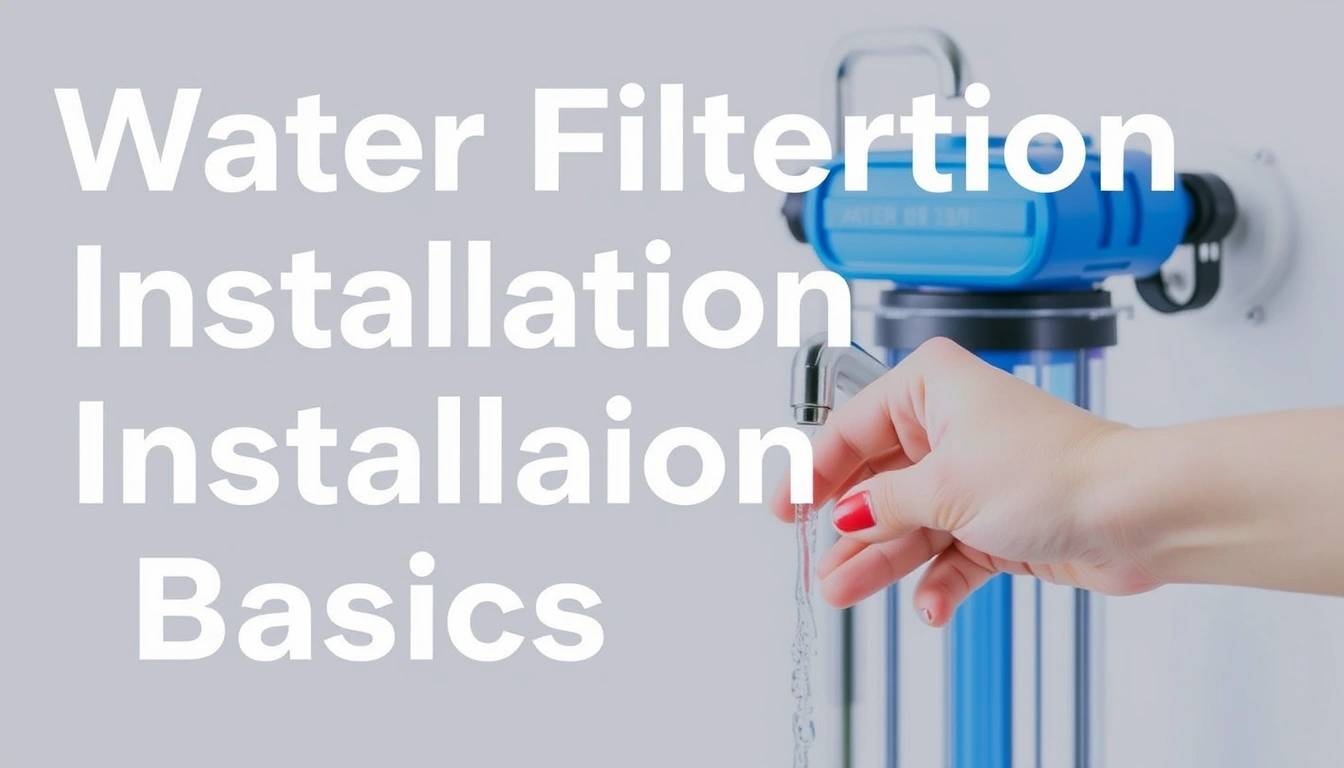
Install it by matching the plumbing layout to the system’s required flow, connection size, and service clearance, then checking every joint under pressure before the system goes live. Simple enough. The order still matters. I would not start cutting pipe until I had the manufacturer’s installation diagram, the pipe size, the shutoff location, and a clear plan for where the filter can be replaced later without moving the unit. Water filtration installation basics — complete guide work best when the layout is planned before a single fitting is opened.
- Shut off the water and depressurize the line. Close the main or branch shutoff, then open a faucet downstream until the water stops. Verify that pressure has dropped to zero by checking that no water comes out when a low fixture is opened. A problem is any continued seepage, which means the shutoff is passing and the line may need a repair before installation.
- Measure the available space and clearances. For an under-sink unit, measure cabinet width, depth, and height, plus 2 to 4 inches of clearance for cartridge removal or tank access. For a whole-house unit, measure wall space and the pipe run length needed for inlet, outlet, and bypass. Verify you can remove housings without dismantling adjacent plumbing. A problem is a layout that blocks sump removal or leaves no room to change a cartridge wrench.
- Confirm the pipe size and connection type. Identify whether the line is 1/2-inch, 3/4-inch, or 1-inch nominal pipe, and whether you are transitioning to compression, push-to-connect, threaded, or sweat fittings. Verify the filter ports match the flow path. A problem is forcing reducers into a narrow spot, which often creates pressure loss and noisy flow.
- Install the shutoff, bypass, or tee arrangement required by the system. Whole-house systems often need a bypass valve so you can service the filter without cutting water to the home; under-sink systems need a feed valve or saddle tee only where allowed by code and product instructions. Verify the bypass can be fully opened and fully closed. A problem is a partial bypass that leaves the filter isolated in a way that defeats service or leaks around the valve stem.
- Mount the housing or bracket securely. Anchor the bracket into framing, masonry, or a suitable backer board, using the fastener size the manufacturer calls for. For wall-mounted systems, keep the unit level so housings and tanks do not twist the connections, and if the wall or anchor point is questionable, consult a plumber or installer before mounting a heavy unit. Verify the bracket does not flex under the system’s weight when full of water. A problem is a loose mount that stresses fittings and can crack plastic heads over time.
- Make the plumbing connections in the correct direction. Follow the inlet/outlet arrows on the head or housing. On RO systems, connect feed, permeate, and drain lines exactly as labeled, usually with 1/4-inch tubing and a flow restrictor on the drain. Verify that inlet and outlet are not reversed and that every tubing cut is square. A problem is a reversed connection, which can ruin performance or stop the unit from producing water.
- Add the drain connection where the system requires one. RO systems and some specialty filters need a drain saddle or dedicated air gap connection. Verify that the drain line has a proper slope and is not kinked. A problem is a drain tied in too low or too tightly, which can cause gurgling, backflow, or poor flush performance.
- Flush the system according to the installation manual. Run water until carbon fines, air, and preservatives are cleared; this may be several minutes for simple cartridges or a longer cycle for RO storage tanks. Verify the water clears and the flow stabilizes. A problem is a cloudy first draw that never clears, which can indicate trapped air, a missing flush step, or a damaged cartridge.
- Check for leaks under static and flowing conditions. Wipe every fitting dry, pressurize the line, then inspect again after the system has run for 5 to 10 minutes. Open and close nearby fixtures to see whether pressure surges expose a weak joint. A problem is any drip, even slow, because a tiny leak under a sink can ruin cabinets before anyone notices.
- Document the service interval and date. Mark the cartridge change date on the housing or near the unit, and record the model number and replacement interval in months or gallons if the manufacturer gives both. Verify the installation can be serviced without removing the whole assembly. A problem is a “finished” install with no record of what was installed, making future maintenance guesswork.
The most common hidden failure in water filtration installation basics — complete guide work is not a day-one leak; it is serviceability. I’d rather see a slightly less elegant layout with straight access to housings than a tight, polished install that nobody can open six months later. A filter that is hard to service gets ignored, and ignored filters become pressure problems or taste complaints.
RO systems usually take longer because of the drain, tank, and faucet drilling. A simple under-sink cartridge install may take about 1 to 2 hours in a clean cabinet with existing shutoffs. A whole-house job can take half a day or more if valves, unions, or a bypass need to be added. Old piping or a cabinet packed with a garbage disposal and shutoffs slows everything down. Time stretches. Fast.
What should I check before I call the job finished?
Check pressure, flow, sealing, direction, and maintenance access before you accept the work. A filter system can look neat and still be wrong if the installer left you with restricted flow or a bypass that does not actually isolate the unit. I’d check five things every time: no leaks, correct orientation, acceptable pressure, clean flush, and easy cartridge access.
Start with the water running at the faucet or fixture the filter serves. Watch the stream and listen. If the flow pulses, hammers, or gets much weaker than expected, the system may be undersized or partially blocked. On a whole-house system, I expect a minor pressure drop; I do not expect showers to feel starved. On an under-sink system, I expect the dedicated faucet to run steadily, though RO flow is naturally slower than a standard tap because the storage tank and membrane govern output.
Check the following before signing off:
- Leak points: every compression nut, threaded joint, and push fitting.
- Flow direction: arrows on the head or housing must match the plumbing path.
- Mounting: no sag, twist, or visible strain on tubing.
- Access: can a cartridge or sump be removed with ordinary hand tools?
- Flush quality: water should clear after the required flush volume or time.
If the system has a pressure gauge, note the reading before and after the filter. The exact acceptable drop depends on the manufacturer, but a sudden large drop after installation usually means a clog, a misaligned cartridge, or an under-specified filter for the home’s demand. If there is no gauge, use behavior: slow faucet recovery, whining at a fixture, or toilet fill delays after the system starts are clues that the plumbing arrangement is not right.
I also like to verify that the filter is installed where future service will not shut down more of the house than necessary. That is why bypass valves exist. If your whole-house system cannot be isolated without losing service to the entire property, the next filter change will be harder than it should be. A simple bypass can save a service call later.
One more thing people skip: check what the filter is actually certified to reduce. NSF/ANSI 42 covers aesthetic claims like chlorine taste and odor; NSF/ANSI 53 addresses specific health-related contaminants such as lead or cyst reduction claims; NSF/ANSI 58 applies to reverse osmosis systems; NSF/ANSI 61 covers material safety for components in contact with drinking water. If the install looks fine but the claim you need is not part of the certification, the plumbing cannot fix that. NSF International’s standards pages are the cleanest reference point for those labels.
When should you stop and hire a plumber or water-treatment installer?
Stop when the installation would force you to guess, improvise, or work around plumbing that is already marginal. That is the cleanest rule I can give. If the job needs a drain, a main-line cut, a bypass, or code-sensitive changes and you are not fully confident, the cost of a mistake is usually more than the service call. Water filtration installation basics — complete guide advice is to pause before you create a plumbing problem.
Corroded or brittle shutoff valves: This means the valve may not close fully and can snap when turned — replace the valve before installing the filter, or have a plumber do the work. A failed shutoff can turn a simple install into an emergency leak.
Galvanized, very old copper, or mixed-metal piping: This means the pipe may be too fragile or incompatible with quick fittings — use a contractor who can transition the line properly. Mixing metals without the right dielectric strategy can create future corrosion problems.
Private well water with no recent test: This means you do not know whether the issue is sediment, hardness, iron, bacteria, nitrates, or something else — test first, then choose the treatment train. Installing the wrong filter can waste money and leave the actual problem untouched, and CDC and EPA guidance both point readers back to testing and source-specific treatment.
Need for a new drain connection or air gap: This means the job is no longer just a filter hookup — hire someone who can add the drain correctly, especially for RO. A bad drain tie-in can cause odor, backflow, or compliance issues.
Low water pressure before installation: This means the system may underperform once a filter is added — have the pressure issue diagnosed first. A filter can add enough resistance to make a marginal system frustrating.
Hidden leaks, mold, or cabinet rot: This means the plumbing area is already compromised — stop and repair the damage before adding equipment. Mounting new gear over a wet base is asking for failure.
Required permit or code review in your area: This means the installation may need inspection, approved materials, or a licensed installer — check local rules before starting. A filter can be simple in one town and regulated in another.
Whole-house treatment for a multi-unit building or commercial space: This means demand, backflow, and service access are more complex — use a professional familiar with larger systems. Residential shortcuts do not scale well.
The point of stopping is not caution for its own sake. It is avoiding the kind of partial installation that seems fine for a week and then turns into a leak, a pressure complaint, or a warranty dispute. If your answer to any step is “I’ll make it fit,” that is usually the wrong answer for water plumbing.
What mistakes do people actually make during installation?
They usually make the same five mistakes, and each one costs something concrete: pressure, time, or a water-damage risk. A good installer treats the filter like part of the plumbing system, not an add-on ornament.
-
Choosing the filter before checking the plumbing. The consequence is a system that does not fit the cabinet, line size, or flow demand. The correct alternative is to measure first and pick a layout that matches the space, such as a slim under-sink cartridge or a wall-mounted whole-house housing with a bypass.
-
Ignoring service clearance. The consequence is a cartridge that cannot be changed without removing half the assembly, which means it gets delayed. The correct alternative is to leave the 2 to 4 inches of access the system needs and orient housings so a sump wrench or filter head tool can swing freely.
-
Using the wrong connection method for the pipe and code. The consequence is leaks at threaded adapters, slow drips at compression fittings, or a prohibited saddle valve in a place that should have a proper tee. The correct alternative is to match the fitting to the line: push-to-connect where allowed and appropriate, compression on accessible small tubing, sweat or threaded transitions where the existing piping demands it.
-
Skipping the flush. The consequence is cloudy water, carbon dust, odd taste, or an RO tank that fills with contaminated first water from manufacturing residue. The correct alternative is to flush exactly according to the manual. No shortcuts.
Leave a Reply